Keeping your ice maker machine clean is crucial. It ensures your ice stays fresh and safe.
So, how do you clean an ice maker machine? Proper maintenance of your ice maker machine prevents the buildup of mold, mildew, and bacteria. Over time, these contaminants can affect the taste and quality of your ice. Regular cleaning not only extends the life of your machine but also ensures the health and safety of those consuming the ice.
In this guide, we will explore step-by-step instructions to clean your ice maker effectively. By following these steps, you can keep your machine in top condition and enjoy fresh, clean ice every time. Let’s dive into the process and make your ice maker sparkle!
Introduction To Ice Maker Cleaning
Keeping your ice maker clean ensures it works well and produces fresh ice. Regular cleaning removes buildup and prevents bacteria growth. Follow simple steps to maintain a hygienic ice maker.
Cleaning an ice maker machine is an essential task. It ensures the machine works efficiently. Clean ice makers produce safe, clean ice. Dirty ice makers can cause health issues. Regular cleaning keeps the machine in good condition. It also extends its lifespan. Let’s explore the importance of regular cleaning and common issues with dirty ice makers.Importance Of Regular Cleaning
Regular cleaning prevents the buildup of mold and bacteria. These can contaminate the ice. Contaminated ice can cause illness. Clean ice makers make sure the ice tastes fresh. They also maintain the machine’s performance. Cleaning helps remove scale and mineral deposits. These can clog the machine and reduce its efficiency. Regular cleaning saves money on repairs.Common Issues With Dirty Ice Makers
Dirty ice makers can produce cloudy or bad-tasting ice. This affects the quality of beverages. Mold and slime can form inside the machine. This poses health risks. Dirty machines can also have slow ice production. This means fewer ice cubes for use. The machine might even break down more often. Cleaning prevents these problems and keeps the machine running smoothly. “`Tools And Materials Needed
Cleaning your ice maker machine regularly ensures it works efficiently and produces clean ice. To get started, gather all the tools and materials needed for a thorough cleaning. This guide will help you with the essential cleaning supplies and safety gear required for the task.
Essential Cleaning Supplies
First, you need a mild detergent. This will clean the surfaces without damaging the machine. Make sure it is food-safe. A soft cloth or sponge is necessary too. These will help in scrubbing off any dirt or residue without scratching the machine.
White vinegar or a commercial ice machine cleaner is crucial. These will help remove any mineral deposits. A toothbrush or small brush will help in cleaning hard-to-reach areas. Finally, you need clean water for rinsing the machine thoroughly.
Safety Gear
Always use safety gear while cleaning your ice maker. Wear rubber gloves to protect your hands from cleaning chemicals. These also help in keeping your hands dry. Safety glasses are important too. They protect your eyes from any splashes of cleaning solution.
If you are sensitive to strong smells, use a mask. This will help you avoid inhaling any fumes from the cleaning products. Keep a towel nearby. It helps in wiping off any spills and keeps the area clean.
With these tools and materials, you are ready to clean your ice maker machine. Follow the instructions carefully for best results.
Preparation Steps
Cleaning your ice maker machine starts with proper preparation. This ensures you do not damage the machine and achieve the best results. Here are the crucial steps you should follow before starting the cleaning process.
Unplugging The Machine
First, unplug the ice maker from the power source. This step is important for safety. You do not want any electrical accidents. It also stops the machine from making new ice while you clean.
Removing Ice And Water
Next, take out any ice from the ice bin. You can use a scoop or your hands. Put the ice in a cooler to keep it from melting. After the ice, empty any water from the machine. Some machines have a drain plug for this. If yours does not, use a small container or sponge.
:max_bytes(150000):strip_icc()/how-to-clean-countertop-ice-maker-7564560-step-03-68b913b7181a44e5847f6a9af7c2a2b7.jpg)
Credit: www.thespruce.com
Disassembling The Ice Maker
Cleaning your ice maker properly starts with disassembling it. This allows you to reach and clean all parts. Follow these steps for a thorough clean.
Taking Apart Removable Parts
Begin by unplugging the ice maker. Safety first. Next, check the user manual. It will show you which parts are removable. Common removable parts include the ice bin, water filter, and trays.
Remove these parts carefully. Handle them gently to avoid damage. Place each part on a clean surface. This will help you keep track of everything.
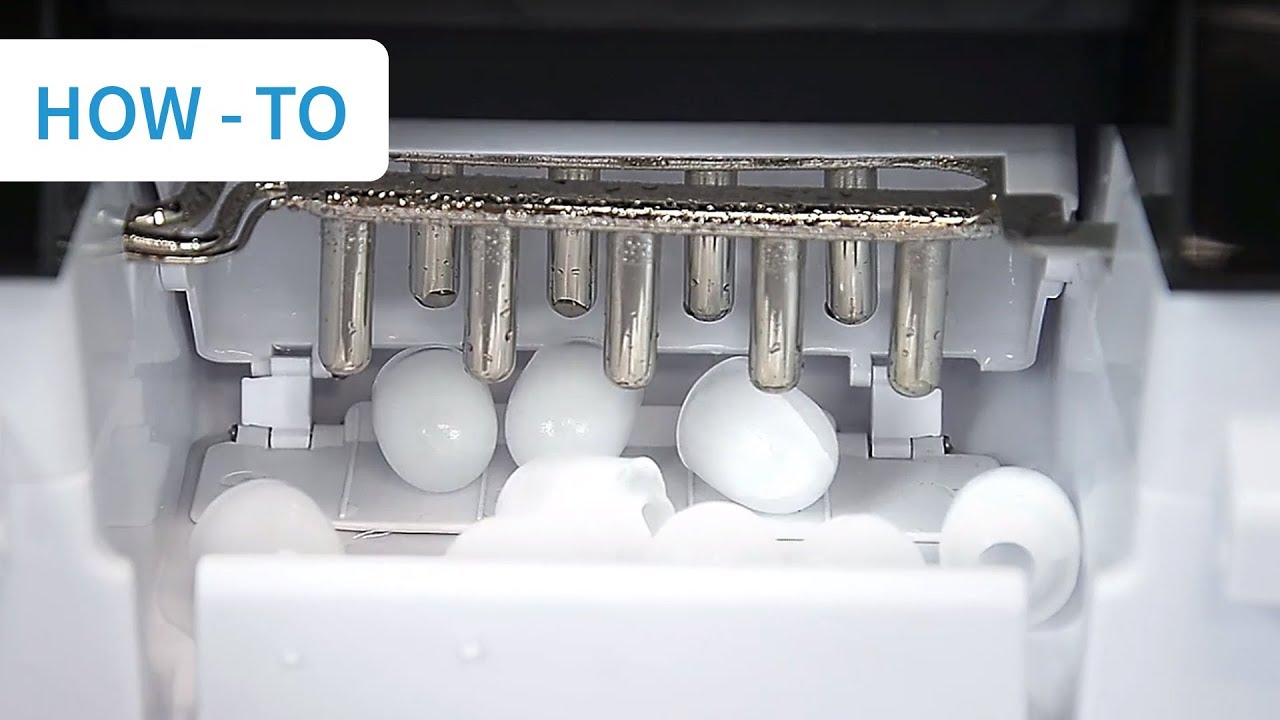
Identifying Key Components
Once removable parts are out, identify the key components. These are usually the water lines, pumps, and motors. They might not be removable but need cleaning.
Look for any screws or latches holding these components. Note their locations. This will help you reassemble the ice maker later. Ensure you clean these areas thoroughly for best results.
Cleaning The Interior
Cleaning the interior of an ice maker machine involves removing ice and wiping surfaces. Use a mild detergent and warm water. Ensure thorough rinsing before use.
Cleaning the interior of your ice maker machine is essential for maintaining the quality and safety of your ice. Over time, the inside of your ice maker can accumulate dirt, mold, and bacteria, which can affect the taste of your ice and potentially harm your health. Keeping it clean ensures it runs efficiently and produces ice that is safe to consume.Wiping Down Surfaces
Start by unplugging your ice maker. Safety first! Remove any ice and detach removable parts. Wipe down all interior surfaces with a soft cloth or sponge. Use warm water and mild dish soap to remove any visible dirt or grime. Pay extra attention to corners and crevices where mold can hide. Rinse thoroughly with clean water and dry with a clean towel.Sanitizing With Cleaning Solution
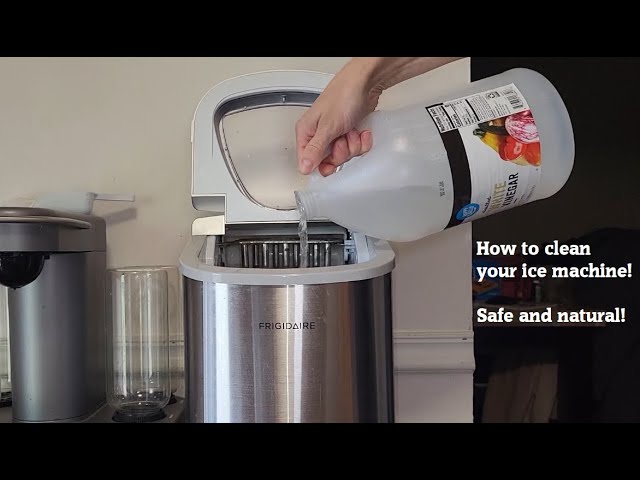
Once the surfaces are clean, it’s time to sanitize. Mix a cleaning solution of one part white vinegar to one part water. Vinegar is a natural disinfectant and safe for food surfaces. Use a spray bottle to apply the solution to all interior surfaces. Let it sit for 5-10 minutes to kill any bacteria. Wipe down the surfaces again with a clean cloth. Ensure all areas are thoroughly rinsed and dried to avoid any lingering vinegar taste. Do you remember the last time you cleaned your ice maker? It might be time to check and follow these simple steps to ensure your ice is always fresh and safe.Cleaning The Exterior
Keeping the exterior of your ice maker machine clean is essential. A clean exterior prevents dust and grime buildup. It also maintains the machine’s appearance. Let’s explore how to clean the outer surface and the control panel effectively.
Wiping The Outer Surface
Start with a soft, damp cloth. Gently wipe the outer surface of the ice maker. Avoid using abrasive cleaners. They can scratch the surface. For stubborn stains, use a mild detergent. Rinse the cloth with clean water. Wipe the surface again to remove any soap residue. Dry the surface with a clean, dry cloth. This helps prevent water spots and streaks. Regular cleaning keeps your ice maker looking new.
Cleaning The Control Panel
The control panel is a sensitive area. Use a soft, damp cloth to clean it. Avoid excessive water. It can damage the electronic components. Gently wipe the buttons and display. If there is dirt in crevices, use a cotton swab. Dampen the swab slightly with water. Carefully clean the hard-to-reach areas. Dry the panel with a soft, dry cloth. This ensures the control panel remains functional and clean.
Reassembling The Ice Maker
Carefully reassemble the ice maker after cleaning. Ensure all parts fit correctly to avoid leaks. This guarantees optimal performance.
Reassembling your ice maker after a thorough cleaning can seem daunting, but it’s a crucial step to ensure your machine functions properly. It’s easier than you think and can make a huge difference in the efficiency of your ice maker. Let’s break it down into simple steps for you.Reinstalling Parts
First things first, gather all the parts you removed for cleaning. Make sure each piece is completely dry. Moisture can lead to unwanted ice buildup or even damage the machine. Start with the larger components like the ice bin. Slide it back into place with a gentle push. You should hear a slight click when it’s correctly seated. Next, move to the smaller parts. Attach the ice scoop holder if your machine has one. Align it carefully with the slots provided. It’s easy to overlook this tiny detail, but it ensures you always have a clean scoop handy.Ensuring Proper Fit
Double-check that everything fits snugly. Loose parts can rattle and affect the machine’s performance. Gently tug on each piece to confirm it’s secure. Pay special attention to the water line and filter. These are crucial for the ice maker’s operation. Reconnect the water line, ensuring there are no kinks. A kinked hose can reduce water flow and affect ice production. Finally, replace the filter if needed. A clean filter ensures your ice is pure and free from contaminants. It’s a small step that significantly impacts the quality of ice. How did your reassembling process go? Did you encounter any unexpected issues? Share your experience in the comments, and let’s learn together! By following these steps, you’ll not only prolong the life of your ice maker but also enjoy cleaner, better-tasting ice. Happy ice-making!Final Steps
Clean the ice maker’s interior with a mix of warm water and mild detergent. Rinse thoroughly to remove any residue. Finally, wipe it dry to prevent mold and bacteria growth.
### Final Steps You’ve made it this far, and now it’s time to wrap up the cleaning process of your ice maker machine. These final steps ensure your machine is spotless and ready to produce clean, fresh ice. Let’s dive into the crucial steps to finish the job perfectly. ### Running a Cleaning Cycle Once you’ve manually cleaned all the parts, it’s essential to run a cleaning cycle. This step flushes out any remaining residue. First, fill the ice maker’s reservoir with a cleaning solution. Make sure to follow the manufacturer’s instructions for the correct ratio. Next, start the cleaning cycle. This process usually takes about 20-30 minutes. You’ll hear the machine working, and that’s a good sign. Finally, after the cycle completes, discard the first batch of ice. This ice may still contain some cleaning solution. ### Testing the Ice Maker Before you celebrate, test your ice maker to ensure everything is working smoothly. Start by making a small batch of ice. Check the ice for clarity and taste. It should be crystal clear and free from any off-flavors. If the ice looks and tastes good, you’re all set. If not, you may need to run another cleaning cycle. Remember, a clean ice maker not only produces better ice but also extends the machine’s life. So, take pride in your work and enjoy the fresh, clean ice! What steps will you take to ensure your ice maker stays clean in the future? Share your tips and experiences in the comments below.Maintenance Tips
Maintaining your ice maker machine ensures it runs smoothly and produces clean ice. Proper upkeep extends the lifespan of the machine and keeps it efficient. Here are some essential maintenance tips to follow.
Regular Cleaning Schedule
Clean your ice maker machine every two weeks. This routine prevents buildup of dirt and bacteria. Use warm water and mild detergent to wipe down the surfaces. Rinse thoroughly to remove any soap residue. Don’t forget to clean the ice bin and trays.
For thorough cleaning, refer to the machine’s manual. It provides specific instructions tailored to your model. Regular cleaning keeps your ice fresh and safe.
Preventive Measures
Use filtered water to make ice. This reduces impurities and prevents scale buildup. Regularly check the water filter and replace it as needed. A clean filter keeps your ice maker functioning efficiently.
Monitor the machine’s temperature settings. Ensure they are within the recommended range. Proper temperature prevents the growth of unwanted bacteria. Regularly inspect the machine for any signs of wear or damage. Early detection of issues can save you from costly repairs.
Keep the surrounding area clean and dust-free. Dust can accumulate and affect the machine’s performance. Make sure the machine has adequate ventilation. Proper airflow is crucial for optimal functioning.
Credit: www.youtube.com

Credit: www.wikihow.com
Frequently Asked Questions
What Is The Best Way To Clean The Inside Of An Ice Maker?
Clean the inside of an ice maker by unplugging it, removing ice, and wiping surfaces with a vinegar-water solution. Rinse thoroughly.
Can I Run Vinegar Through My Ice Maker To Clean It?
Yes, you can use vinegar to clean your ice maker. Mix equal parts of water and vinegar. Run this solution through the machine, then rinse with water. This helps remove mineral deposits and sanitize the ice maker. Always check your ice maker’s manual for specific cleaning instructions.
What Is The Best Solution To Clean Ice Machines?
The best solution to clean ice machines is using a mixture of water and nickel-safe ice machine cleaner. Follow manufacturer guidelines. Regular maintenance ensures efficiency.
How Do You Run A Clean Cycle On An Ice Machine?
To run a clean cycle on an ice machine, turn off the machine. Remove ice, add cleaner, and start the clean cycle. Follow the manufacturer’s instructions for the specific model.
Conclusion
Keeping your ice maker clean ensures fresh, safe ice every time. Regular maintenance prevents buildup and extends the machine’s life. Follow the steps outlined for a hassle-free cleaning process. Your ice will taste better, and your machine will run smoothly.
Enjoy the benefits of a clean ice maker with minimal effort. Remember, a little upkeep goes a long way. Prioritize cleanliness and enjoy peace of mind. Thank you for reading!
