Cleaning an oven can feel like a daunting task. Fortunately, many ovens today come with a self-cleaning feature.
Self-cleaning ovens make kitchen maintenance easier. They save you from the hassle of scrubbing and using harsh chemicals. This feature heats the oven to a high temperature, turning food residue into ash. The process is simple, but knowing the steps ensures safety and effectiveness.
In this guide, you’ll learn how to self-clean your oven with ease. Whether you have a new appliance or just want a refresher, following these steps will keep your oven looking and working its best. Ready to discover how? Let’s dive in!
Preparing For The Self-cleaning Cycle
Preparing your oven for the self-cleaning cycle is an essential step to ensure the process goes smoothly and effectively. It might seem like an extra chore, but taking the time to get your oven ready can make a huge difference. Let’s break down the preparation process into manageable steps.
Removing Oven Racks
First, you’ll need to take out the oven racks. The intense heat of the self-cleaning cycle can damage them. Removing them is easy and quick. Just slide them out and set them aside.
Make sure to place them somewhere they won’t get in the way. You might want to clean them separately using warm soapy water. Keeping the racks clean helps maintain your oven’s efficiency.
Cleaning Loose Debris
Next, clear out any loose debris. Food particles and crumbs can create smoke and bad odors during the self-cleaning cycle. Grab a damp cloth or a small handheld vacuum to pick up the loose bits.
Don’t forget to check the corners and crevices. A little effort now can save you from a smoky kitchen later. Think of it as a mini workout with a big payoff.
Have you ever had to open all your windows because of a smoky oven? A quick pre-clean can help avoid that hassle. It’s a small step that makes a big difference.
What’s your least favorite part of cleaning the oven? Maybe it’s the mess or the time it takes. Preparing properly can actually make the whole process quicker and easier.
Taking these steps will not only protect your oven but also ensure a more effective self-cleaning cycle. Ready to get started? Your clean oven is just a few simple steps away!
Credit: atoz1.com
Understanding Your Oven’s Self-cleaning Feature
Understanding your oven’s self-cleaning feature can save you time and effort. Many modern ovens come equipped with this handy function, but it’s essential to know how to use it properly. Let’s dive into the details to ensure you get the best out of your oven’s self-cleaning capabilities.
Types Of Self-cleaning Ovens
There are primarily two types of self-cleaning ovens: pyrolytic and steam cleaning ovens. Pyrolytic ovens use high temperatures to burn off food residue and grease. This process can reach up to 900 degrees Fahrenheit, turning debris into ash that you can easily wipe away.
Steam cleaning ovens, on the other hand, use hot steam to soften grime and grease. These ovens don’t reach the extreme temperatures of pyrolytic ovens, making them a safer option for homes with children or pets. Both types have their benefits, so choose one based on your cleaning needs and household safety.
Safety Precautions
Before you start the self-cleaning cycle, remove any large food debris and wipe down the interior with a damp cloth. This prevents excessive smoke and potential fire hazards. Ensure your kitchen is well-ventilated by opening windows or turning on a fan.
Keep children and pets away from the oven during the self-cleaning process. The oven’s exterior can get very hot, posing a burn risk. Also, avoid using harsh chemical cleaners inside the oven, as these can produce dangerous fumes when heated to high temperatures.
Have you ever wondered if self-cleaning ovens are completely safe? While they are generally safe to use, following these precautions can help you avoid any mishaps and ensure a smooth cleaning process. Taking a few extra steps can make all the difference in maintaining a clean and functional oven.
Starting The Self-cleaning Cycle
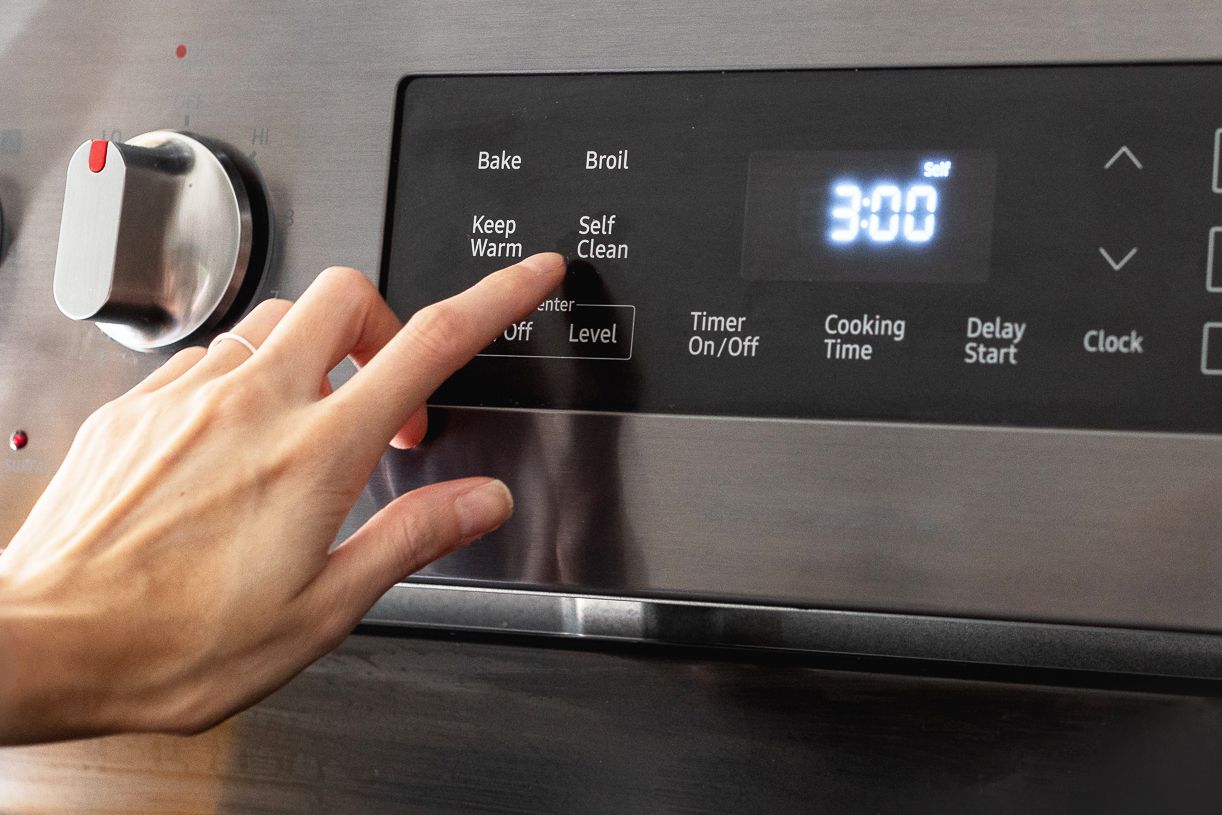
Activate the self-cleaning function by locking the oven door and selecting the self-clean cycle on the control panel. The oven heats to a high temperature, burning off residue. After it cools, wipe away the ash.
Starting the Self-Cleaning Cycle Cleaning your oven can feel like a daunting task, but with the self-cleaning function, it becomes a breeze. The self-cleaning cycle simplifies this chore, leaving your oven spotless with minimal effort. Let’s dive into how you can start the self-cleaning cycle and ensure your oven is fresh and ready for your next cooking adventure.Setting The Self-clean Function
To activate the self-cleaning feature, locate the self-clean button on your oven’s control panel. Press this button to initiate the process. You may need to set the duration of the cleaning cycle—usually ranging from two to four hours. Adjust the time based on how dirty your oven is. Before starting the cycle, remove any large food debris from the oven. This helps the self-cleaning function work more effectively.Duration Of Cleaning
The duration of the self-cleaning cycle can vary, typically between two to four hours. For lightly soiled ovens, a shorter cycle will suffice. For ovens with heavy grime, opt for the longer duration. During the cycle, the oven door will lock automatically for safety. Once the cycle is complete, the oven will cool down and the door will unlock. You can then wipe away the ash residue with a damp cloth. Have you ever wondered how often you should use the self-cleaning function? Ideally, run the cycle every few months, or when you notice significant buildup. Remember, maintaining a clean oven not only ensures better tasting food but also prolongs the life of your appliance.During The Self-cleaning Process
The self-cleaning feature in ovens makes cleaning easier. But during this process, you need to take certain steps for safety. These steps ensure the oven cleans well without causing issues. Pay attention to the following areas to keep everything running smoothly.
Monitoring The Oven
Stay close while the oven self-cleans. Check the progress often. This helps you catch any issues early. Keep an eye on the oven’s temperature. It can get very hot. Ensure pets and children stay away. The outside of the oven can be hot too.
Handling Smoke And Odors
Smoke and odors are common during self-cleaning. Open windows to let fresh air in. Turn on your kitchen’s vent fan. This will help move smoke and odors outside. If the smell is strong, leave the room for a bit. The process can take a few hours. Plan to be home to monitor everything.
Post-cleaning Maintenance
Post-cleaning maintenance is essential to keep your oven in top condition. After a self-cleaning cycle, a few extra steps can help ensure your oven stays clean and safe. These steps are simple but very important. They help in removing any remaining residue and prevent future issues.
Cooling Down The Oven
Allow your oven to cool down completely before touching it. This can take a few hours. The high temperatures during the self-cleaning cycle make the oven very hot. Opening the oven door too soon can be dangerous. Patience is key here.
Wiping Down Residue
Once the oven has cooled, it’s time to wipe down any leftover residue. Use a damp cloth or sponge. Gently clean the interior walls, racks, and door. This removes ash and small debris left from the cleaning cycle. Avoid using harsh chemicals. They can damage the oven’s surface.
Check the door seals and corners. These areas often collect hidden residue. A thorough wipe-down ensures no leftover particles remain. This step also helps in maintaining a fresh-smelling oven. A clean oven not only looks good but also performs better.
Deep Cleaning Oven Racks
Deep cleaning oven racks involves removing them and soaking in a mixture of hot water and dish soap. Scrub with a non-abrasive pad, rinse, and dry thoroughly before reinserting into the oven. Regular maintenance ensures effective self-cleaning performance.
Deep Cleaning Oven Racks Ever looked at your oven racks and thought, “How did they get so grimy?” Deep cleaning your oven racks doesn’t have to be a daunting task. With a little effort, you can restore them to their sparkling best. Let’s dive into the practical steps of soaking, scrubbing, and rinsing those racks to perfection.Soaking Racks
Start by removing the oven racks from your oven. If you have a bathtub, lay an old towel on the bottom to prevent scratches. Place the racks in the tub and fill it with hot water. Add a generous amount of dish soap or a cup of white vinegar to the water. Let the racks soak for at least four hours, or overnight if they’re particularly dirty. This soaking process will loosen the grime and make scrubbing much easier.Scrubbing And Rinsing
After soaking, put on a pair of rubber gloves to protect your hands. Use a non-abrasive scrub brush or an old toothbrush to scrub each rack. Pay attention to the corners where grease tends to accumulate. If you encounter stubborn spots, sprinkle some baking soda on the brush for extra cleaning power. Once scrubbed, rinse the racks thoroughly with warm water. Dry them with a clean towel before placing them back in the oven. Cleaning your oven racks this way ensures they stay in top condition. What tips or tricks do you have for cleaning your kitchen appliances? Share your insights in the comments below!Dealing With Stubborn Stains
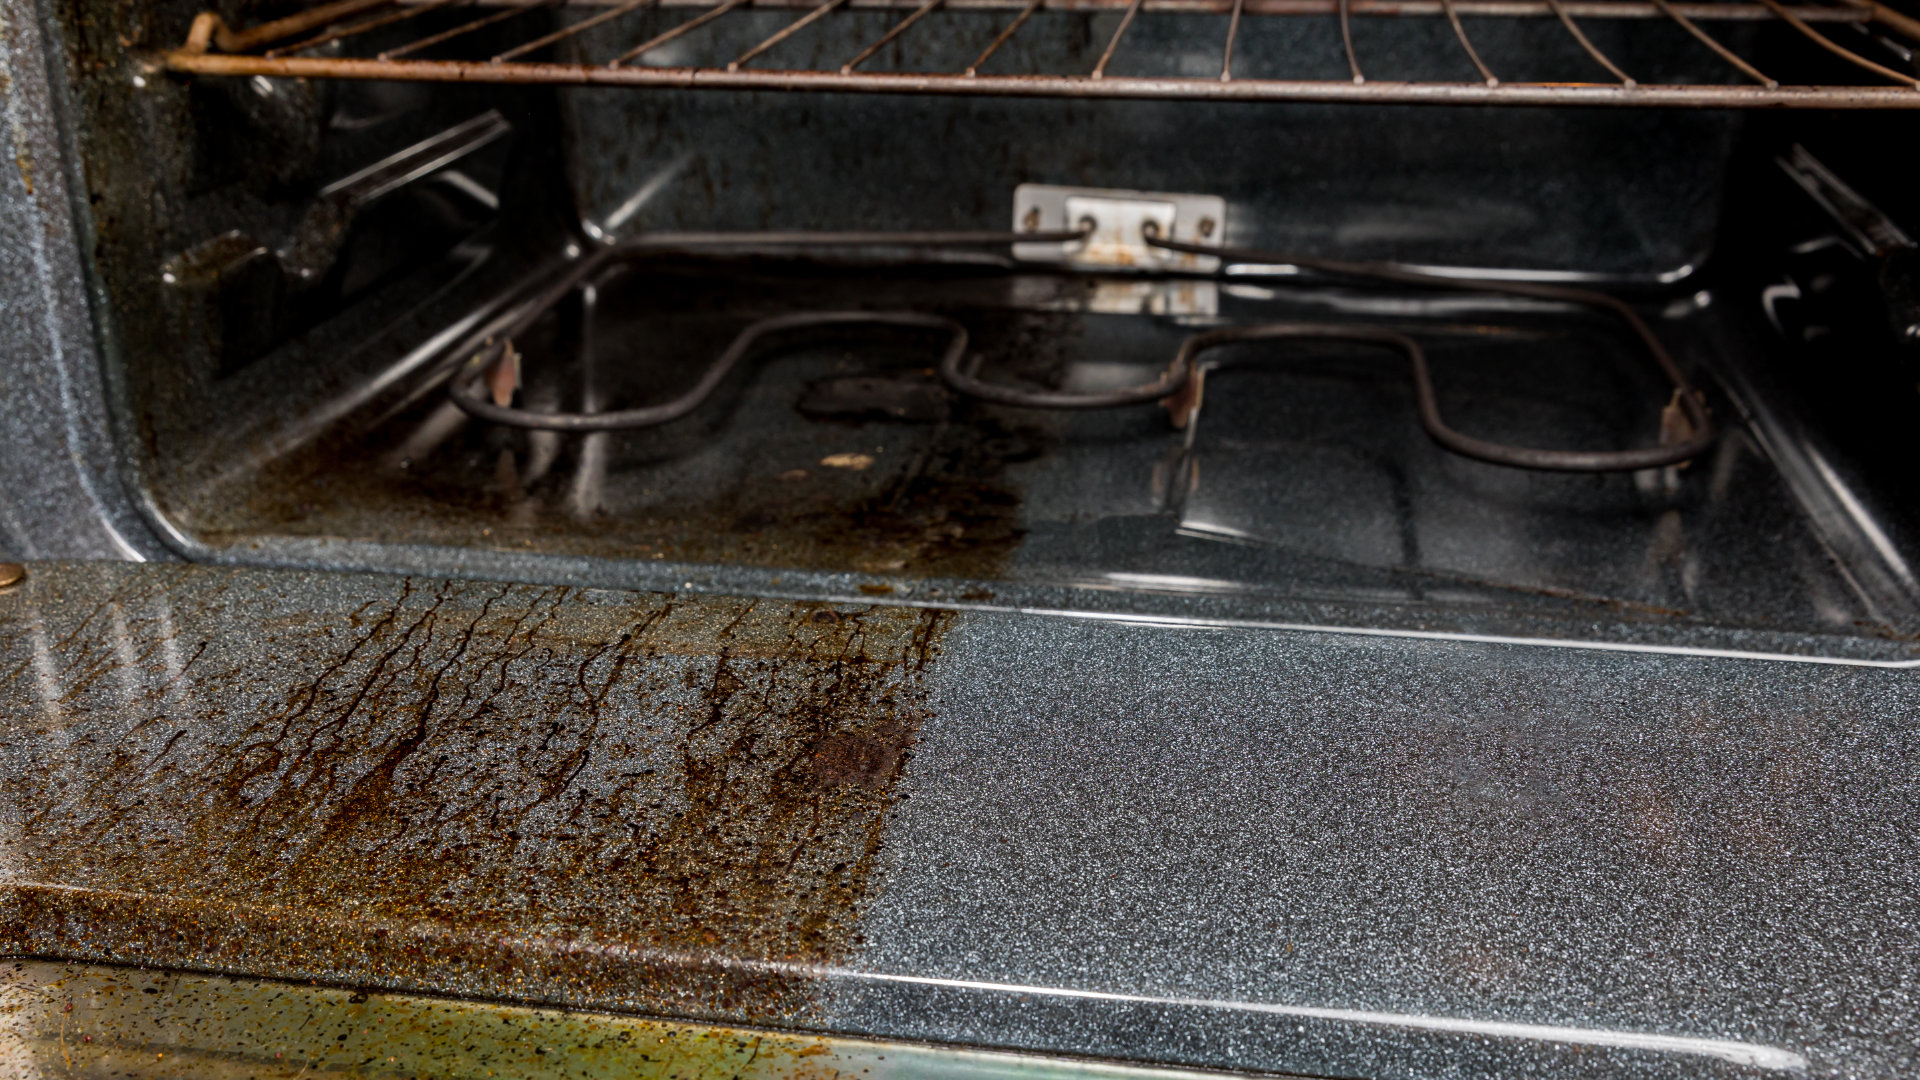
Cleaning an oven can be a real challenge. Stubborn stains make it even harder. These stains often resist typical cleaning methods. Fortunately, there are effective ways to tackle them. You can use baking soda paste or commercial cleaners. Let’s explore these methods.
Using Baking Soda Paste
Baking soda is a natural cleaner. It is safe and effective. To make a baking soda paste, mix three parts baking soda with one part water. Stir until smooth. Spread the paste on the stains. Let it sit for several hours. Overnight is best. This will loosen the grime. Next, scrub the area with a sponge or cloth. Rinse with water. Wipe dry to reveal a clean surface.
Applying Commercial Cleaners
Commercial cleaners are another option. They are designed to tackle tough stains. Choose a cleaner made for ovens. Follow the instructions on the label. Usually, you spray the cleaner on the stains. Let it sit for a while. This allows the cleaner to break down the grime. Scrub the area with a sponge or brush. Rinse thoroughly with water. Wipe the oven dry. Always use gloves when handling chemicals. Ventilate the area to avoid strong fumes.
Credit: www.thekitchn.com
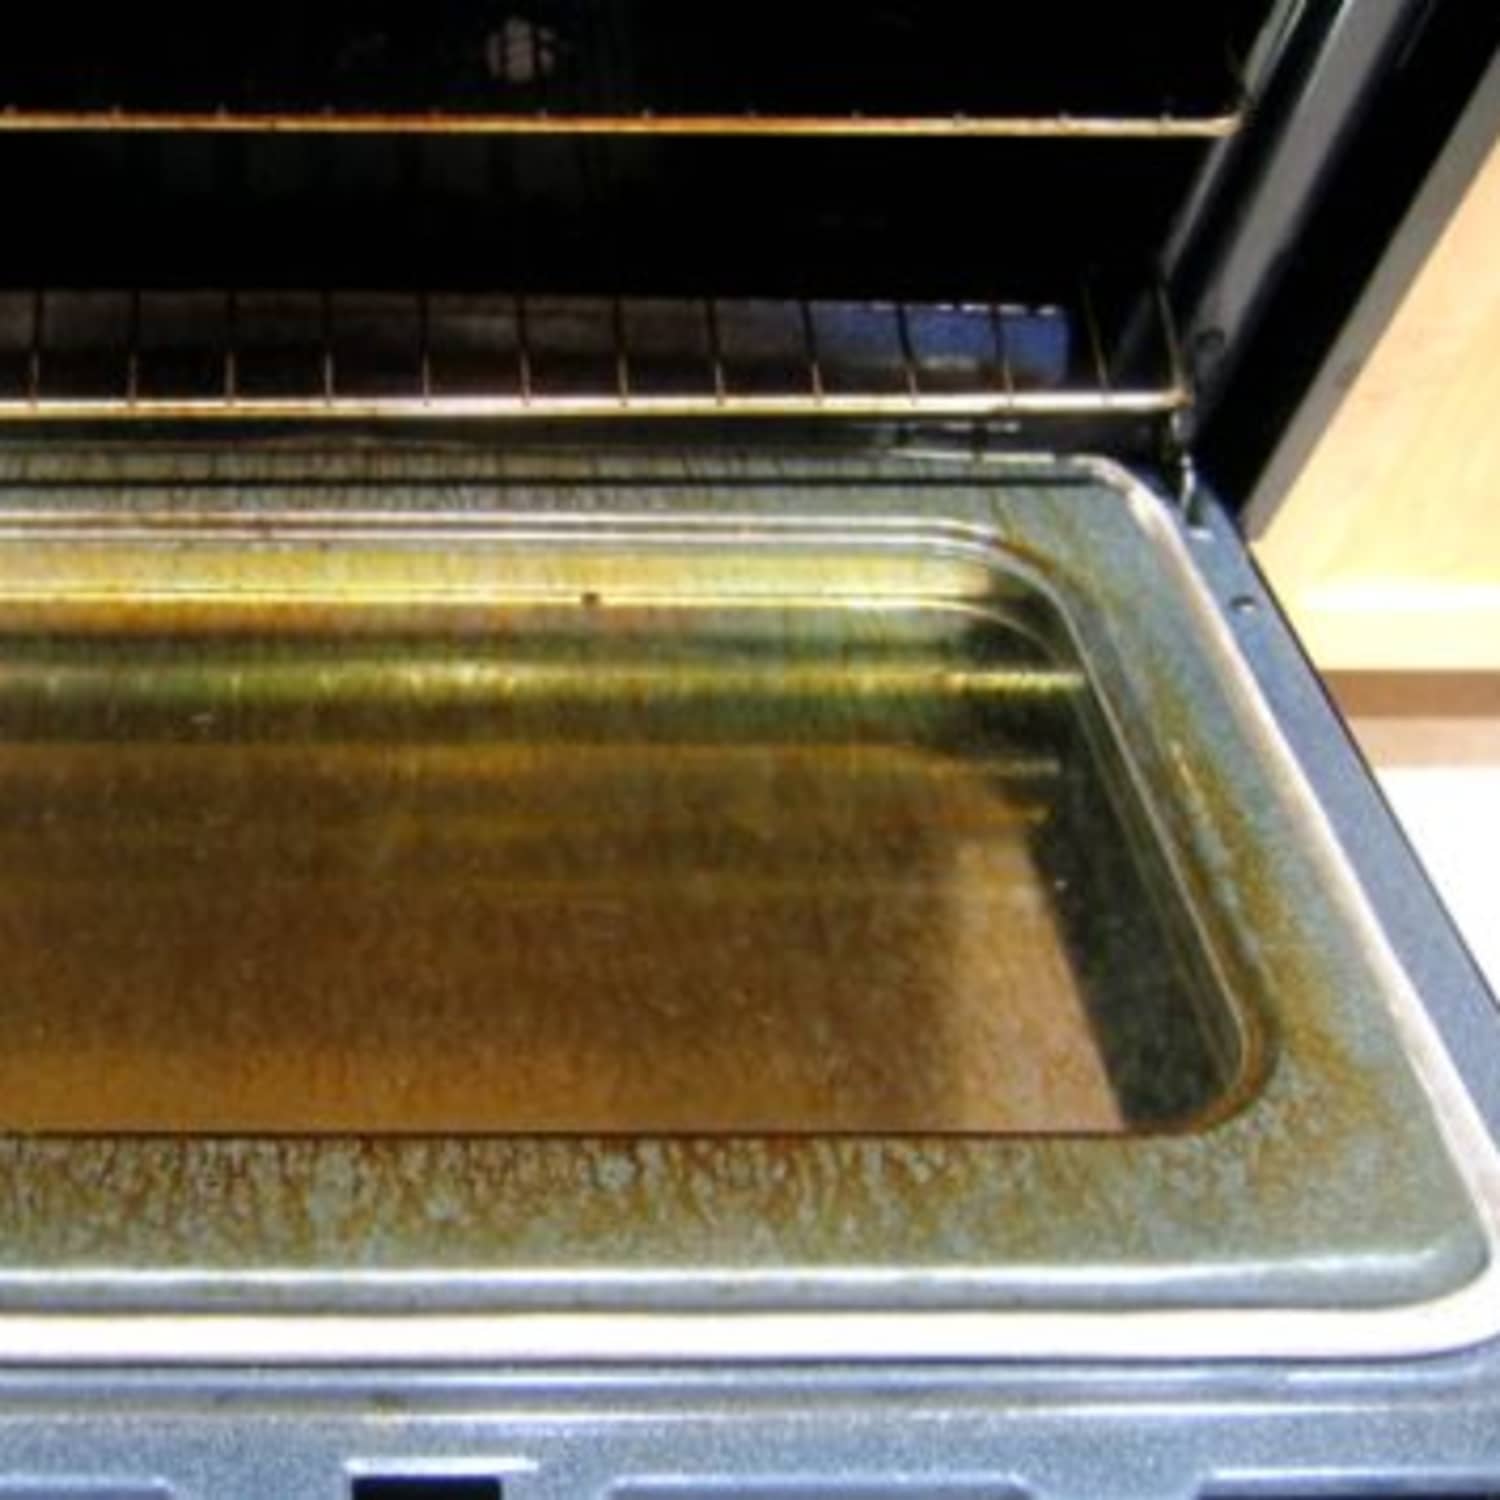
Regular Maintenance Tips
Maintaining your oven regularly can save you time and effort in the long run. A clean oven not only functions better but also ensures your food tastes great. Let’s dive into some simple yet effective regular maintenance tips to keep your oven in top shape.
Frequent Wipe-downs
One of the easiest ways to maintain your oven is by wiping it down frequently. After cooking, once the oven has cooled down, take a damp cloth and wipe the interior surfaces. This helps to remove any fresh spills and prevents them from hardening.
I remember the time I baked a pie that spilled over. Wiping it down immediately saved me from a tough cleaning job later. Make it a habit to do this quick clean-up after each use.
Avoiding Spills And Splatters
Prevention is better than cure, they say, and it applies to oven maintenance too. Use baking sheets or trays to catch spills and splatters. This simple step can make a huge difference.
Consider placing a sheet of aluminum foil on the bottom rack. It catches any drips and can be easily replaced. Just be sure not to cover any vents, as this can affect the oven’s performance.
Have you ever had a casserole bubble over? Avoid the mess by placing a baking sheet underneath. Small adjustments like these make cleaning a breeze.
Regular maintenance of your oven doesn’t have to be a chore. With these tips, you can keep your oven clean and efficient with minimal effort. What are your go-to oven cleaning tips? Share in the comments below!
:max_bytes(150000):strip_icc()/before-you-use-your-ovens-self-cleaning-cycle-FT-BLOG1220-320011bd241242f49df742c349d1f6af.jpg)
Credit: www.foodandwine.com
Frequently Asked Questions
How Do I Use My Self-cleaning Oven?
Press the self-cleaning button on your oven. Remove racks and items inside. Close the door. Let the cycle run completely. Wipe away ash once finished.
Can You Leave The House While The Oven Is Self-cleaning?
It’s not recommended to leave the house while the oven is self-cleaning. Fires or smoke could occur. Stay nearby.
How Long Does It Take To Self-clean An Oven?
Self-cleaning an oven typically takes between 2 to 6 hours. The exact duration depends on the oven model.
Can You Leave The Racks In A Self-cleaning Oven?
No, remove the racks before using the self-cleaning feature. The high heat can damage the racks’ finish.
Conclusion
Cleaning your oven doesn’t have to be hard. Follow these simple steps. Regular maintenance keeps your oven working well. Plus, a clean oven cooks food better. Always use the self-clean function safely. Read your oven’s manual for specific instructions. Happy cooking!
